Adobe Photoshop Tutorials, Tips and Tricks
|
||||||||||||
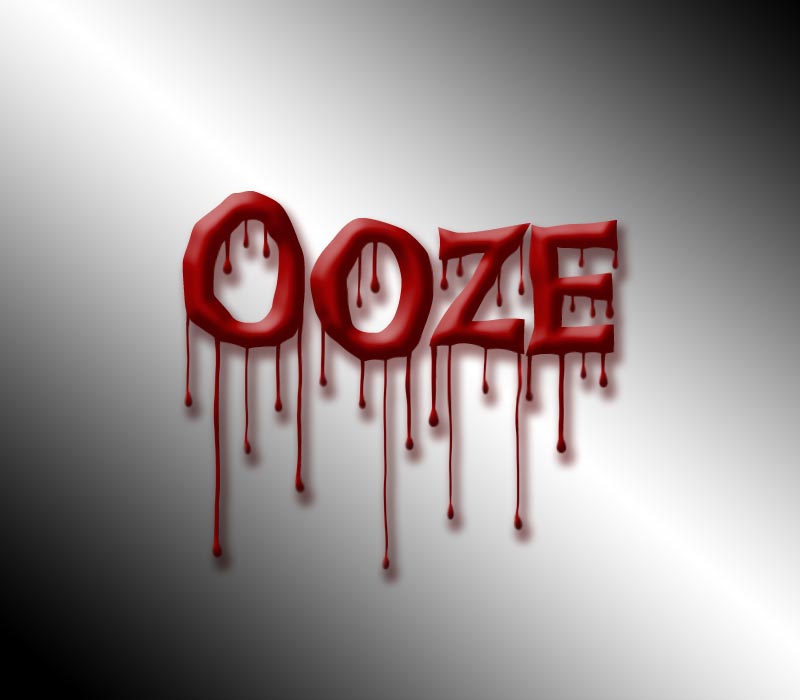
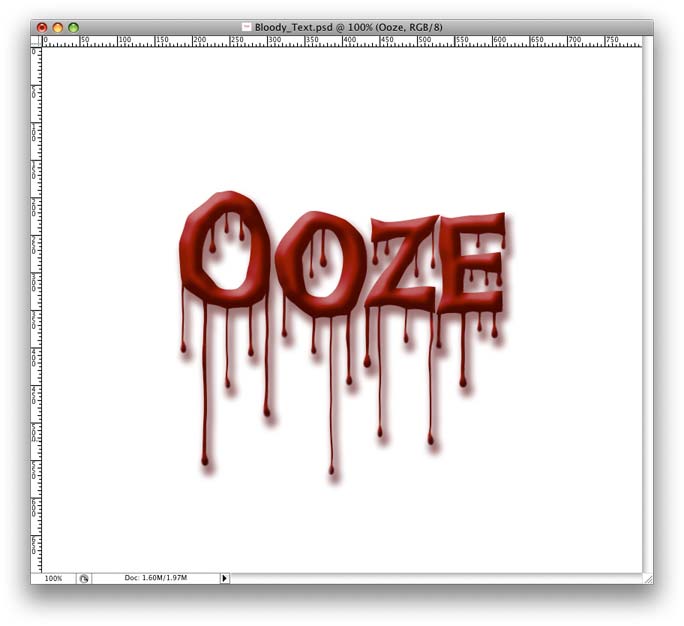
Dripping Blood Text EffectFor this free Photoshop tutorial we will learn how to create bloody looking text that appears to be bleeding and dripping blood. This is a great effect for creating titles for any horror or Halloween related project, plus it's fairly easy to pull off. This tutorial is designed to be suitable for both novices and pros alike. And the effect can be added to more than just text; any type of solid object can be made to appear to be bleeding. In addition, this same technique can be adapted to make a dripping slime effect. Here's what our final product will look like when we're done with this tutorial:
|
| |||||||||||
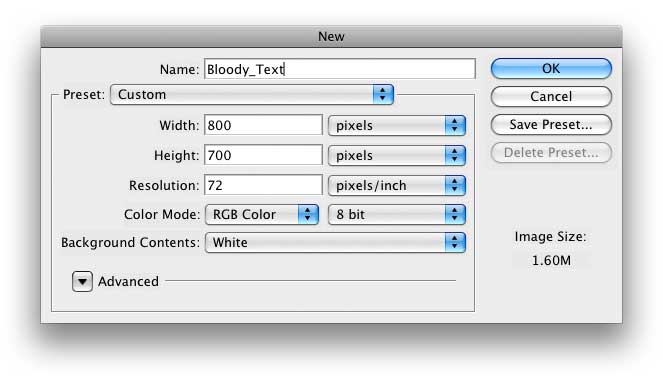
1To start, I made a new document that was 800 pixels wide by 700 pixels and filled with white. This will gives us some room to work in.
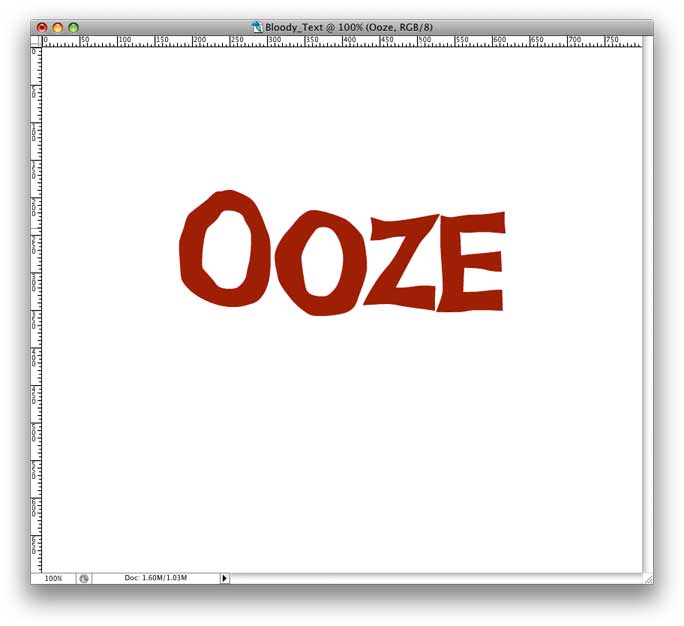
2Now we'll add the text we want to have bleed. I chose the word "Ooze". Select the text tool
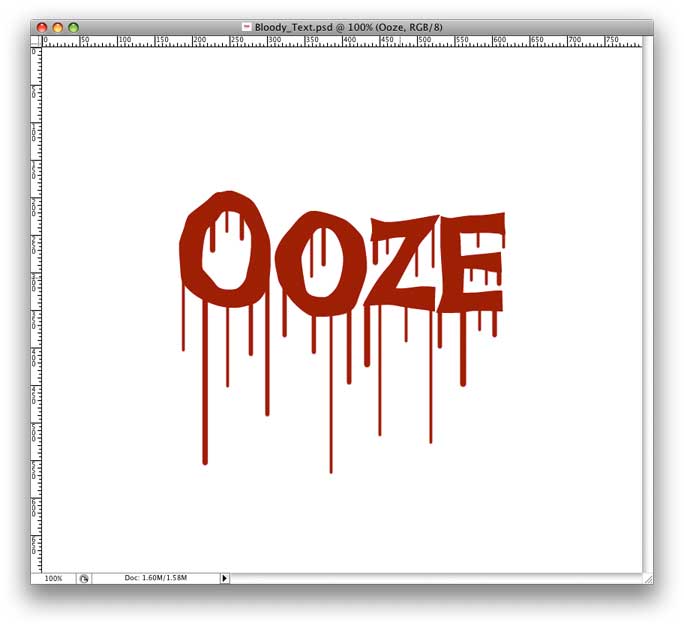
3We'll need to work with the text as pixels, so we'll convert it with Layer > Rasterize > Type from the menu. Now we'll position the text correctly. To center it, use Select > All from the menu or the command-A keyboard shortcut (control-A on Windows). Now select the Move Tool For the vertical alignment, we want the text to be a little above the center line to give us room for the blood to drip down. We'll do this manually by clicking on the image with the move tool and moving it into the proper vertical position with the mouse. When the text is positioned, hit command-D (control-D on Windows) to deselect. Here's what I have at this point:
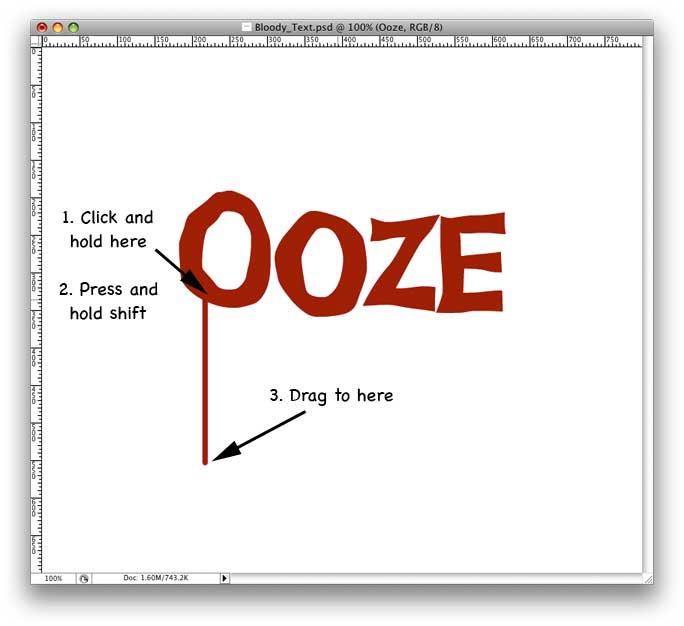
4Time to add the drips of blood coming off the letters. This is done with the paintbrush, so select the brush tool 1. First position the brush inside the bottom edge of a letter where the drip should begin. Be sure to start drawing from inside the letter since ensures the trail of blood looks like it's coming out of the text itself. With the brush inside the letter, press and hold the mouse button but don't move the mouse yet. 2. After you press the mouse button, press and hold the shift key. This constrains the motion of the brush to be either vertical or horizontal based on whichever direction you draw in first. Using the shift key like this lets us draw perfectly horizontal drips of blood. 3. While holding the shift key and the mouse button, drag the brush downwards until you reach the desired length for the drip, then let go of both buttons. Here's an illustration of the process:
|
||||||||||||
5Now repeat Step 4 adding as much or as little blood drips as you like. Be sure to let go of the shift key after drawing each drip otherwise Photoshop will connect the drips together. As you choose where to draw the drips, think about how gravity would effect things. Picking bottom edges and points on letters makes for a realistic looking bloody text effect. Also, vary the length of the drips so that they're not all the same and try to get random look to the lengths. Lastly, vary the brush diameter as well since in the real world not all the drips would be the same diameter. I varied the brush between 4 and 9 pixels for this example. If you make a mistake and a particular drip doesn't come out looking right, just hit command-Z (control-Z on Windows) to undo it. Here's what I came up with:
6Time to make the drips look more realistic. When a thick liquid like blood drips down a surface, it tends to be narrower in the middle than it is at either end. Also, the blood tends to pool a little bit into a droplet at the end of the drip. We'll achieve both these effects using Filter > Liquify. When the dialog opens, set these tool options:
The exact numbers are not that important since the difference between a brush size of say 40 or 42 isn't at all noticeable for what we'll be doing. To start, we'll narrow the center portion of the drips. Select the Pucker Tool Use the pucker tool on every drip your drew in Steps 4 & 5. Don't click OK just yet since we have one more thing to do while we're here in the Liquify tool. Here's my result so far:
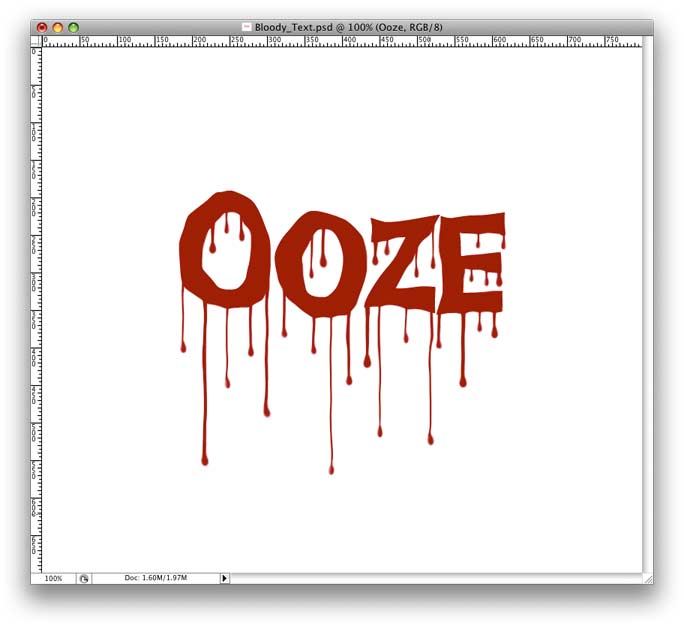
7We'll make more distinct droplets of blood at the end of each drip now. To do this, select the Bloat Tool
This is looking pretty good so far. If you decide you want more blood, just go back and repeat steps 4-7 to add as much as you want. |
|
|||||||||||
|
|
||||||||||||
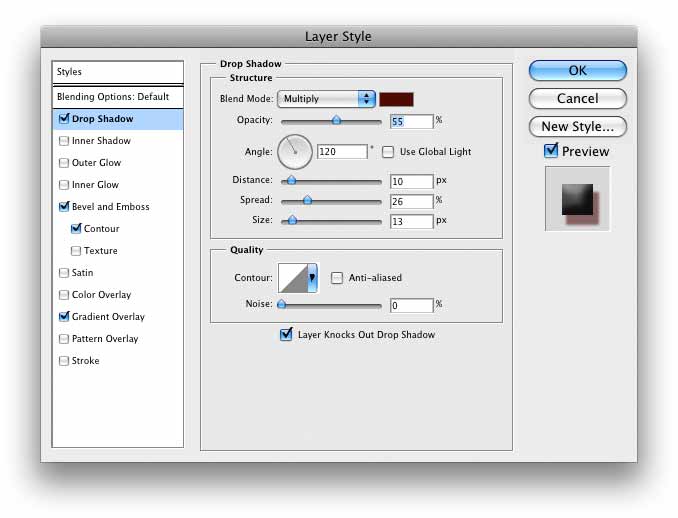
8The next part of the process is to add some dimensionality to the blood using a Layer Style. We'll start with a Drop Shadow as follows. Double-click the text layer in the Layers Palette to open the Layer Styles dialog.
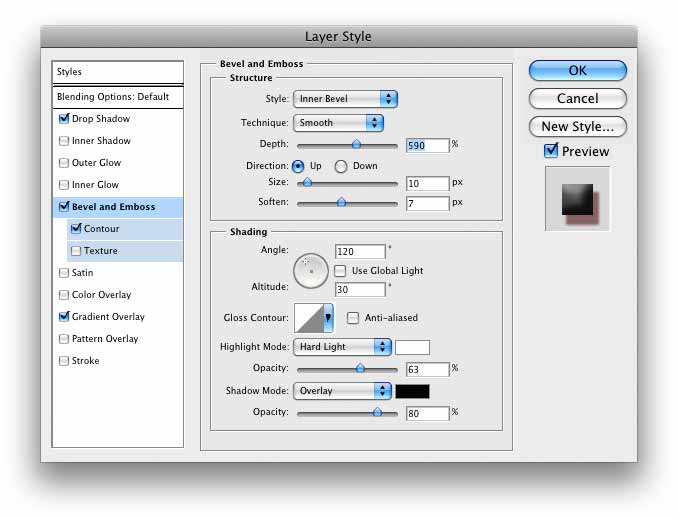
The color of the drop shadow I used is #4f0101 which is a very blackish-red (set the color by clicking in the color box of the Structure section). This is a good tip to follow: whenever you're creating a shadow for something like blood that is semi-transparent, always use a dark version of the color of the object that's casting the shadow. This coloring of the shadow helps sell the effect visually. 9Next we'll set a bevel on the edges to make the text look three dimensional. Try the settings:
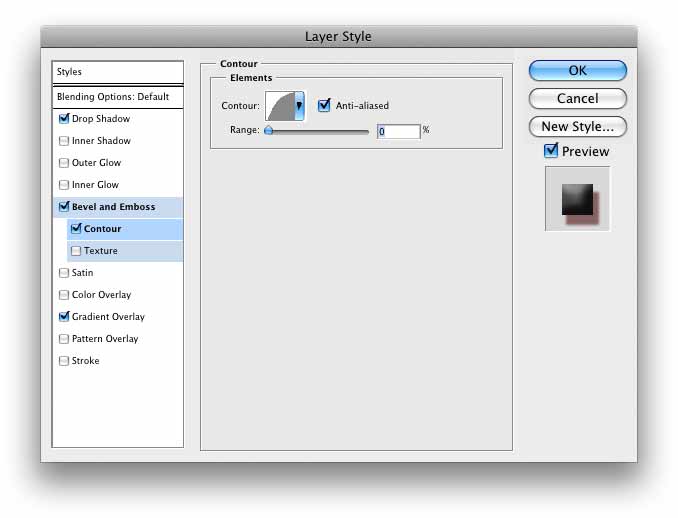
Here, the colors for the Highlight and Shadow Modes are simply white and black. Use of the Hard Light and Overlay blending modes causes these to be blended with the red of the letters to yield a lighter red for the highlights and darker red for the shadows which is just what we want. Here are the Contour settings I used to shape the contour of the letters and the streams of blood the way I wanted:
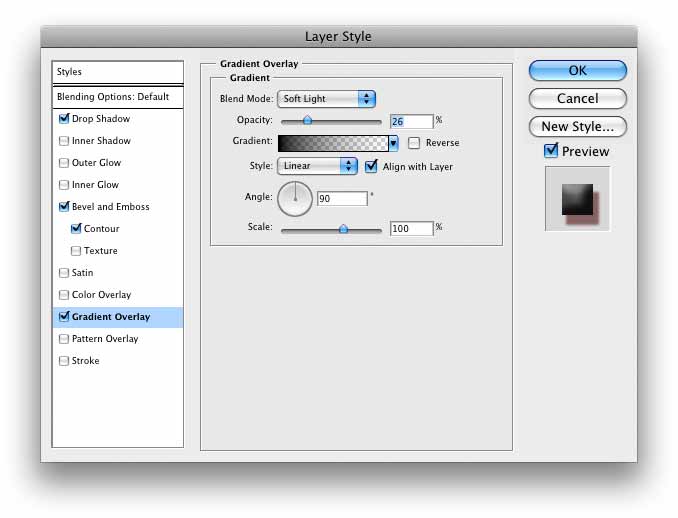
10Lastly, I added a Gradient Overlay to enhance the lighting effect a little. The effect of this is subtle, but I like what it does.
With these settings in place, our bloody text effect is looking quite nice:
11To complete this image, we'll add a background gradient to give the illusion of a lighting effect. Double-click the Background layer to unlock it. In the dialog that pops up, just give the layer any name you like and click OK. Now select the Gradient Tool
To make the gradient we want, position the mouse in the center of the image. Now click and drag the mouse at a 45 degree angle towards the upper right corner. Keep dragging until you're an inch or so past the edge of the window and let go of the mouse button. This yields a nice gradient with a white streak in the middle and darker edges at the top and bottom. It creates a nice illusion that there's a light source coming from the upper left, which of course matches the lighting angle used in the Layer Style above. This is the key thing to create the illusion of a light source. If your gradient didn't come out right, just try again and it will overwrite the previous contents of the layer. Your goal is to get the white streak going from the upper left corner to the lower right corner. And our final version of the dripping blood text effect is this:
|
||||||||||||
Thanks for visiting with the Photoshop Dragon.
Copyright © 2007-2010 Curt Schimmel. The contents of this web site may not be copied in any way without permission. Terms of Use and Privacy Policy. |