Adobe Photoshop Tutorials, Tips and Tricks
|
||||||||||||
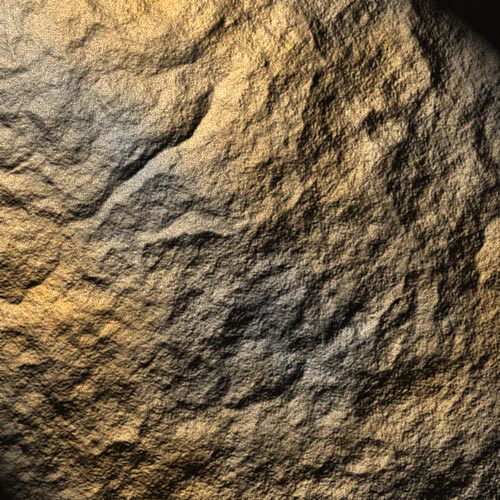
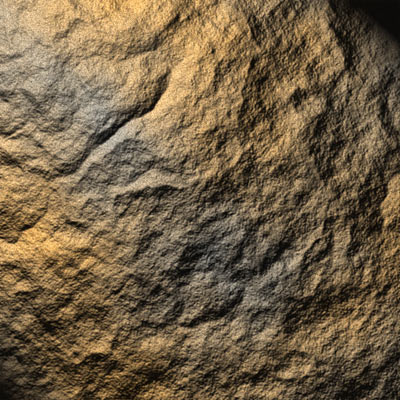
Photorealistic Rock and Stone TexturesSimulating any material in Photoshop and getting it to look real is largely a matter of surface texture and lighting. This tutorial will show you a very easy method for making rock and stone that's incredibly photorealistic. No special artistic skills are required here. We'll just be using Photoshop's built-in filters and tools. Here's a look at what we'll be creating:
|
| |||||||||||
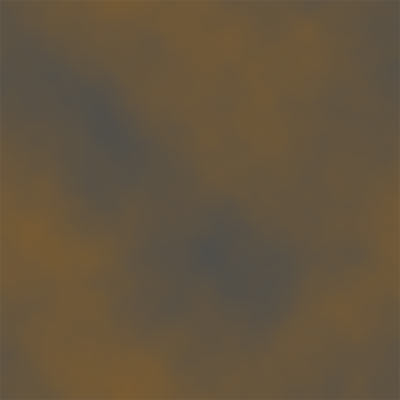
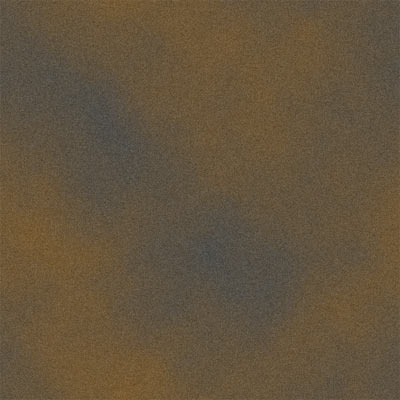
1Start with an empty canvas. I choose 500x500 pixels, but this technique works with any size. We will also pick two colors that will make up our rock at this point. Earth tones work best when trying to make realistic looking rock, however you can pick other colors if you're making more fanciful looking rocks. I chose a dark gray (color #4b4d4d) and a dull brown/orange (color #795b32). Set these as your foreground and background colors, then choose Filter->Render->Clouds to give us a nice randomized mix of color that one would find in true rock or stone. You'll get something that looks like this:
2
3
|
||||||||||||
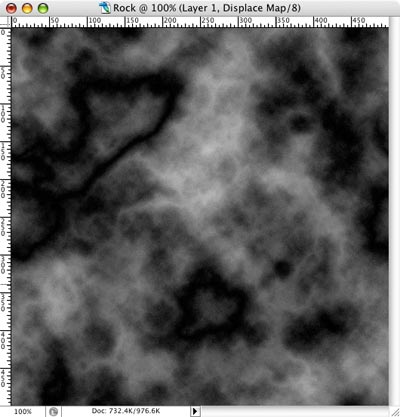
4Next we'll randomize the displacement map a bit more by using Filter->Noise->Add Noise. Use the same settings as in Step 2. Now select Edit->Fade Add Noise and set the opacity to 50% to tone it down a little bit. Now select Filter->Render->Difference Clouds once again. Hit cmd-F (control-F on Windows) to reapply the filter two or three more times until you get a pattern where the light and dark areas seems balanced. If you want the surface to be smoother or rougher, you can apply a Levels adjustment at this point. If you increase the contrast between the light and dark areas, then the surface will be rougher. Reducing the contrast makes it smoother. Here's what mine looks like:
5
6This is where things get fun. We're going to work on Layer 1 now, so click that layer to make it active. We will apply the displacement map to the image by using a lighting effect. Select Filter->Render->Lighting Effects. Below are the options I used. Try these to get started. Once you get the hang of how it works, feel free to vary the settings to get the lighting the way you want.
The important setting is to select the Displace Map alpha channel we created earlier for the Texture Channel. Without this, the image would remain flat. The combination of the displacement map and the lighting is what creates the realistic rock texture. As you can see, the result is amazingly realistic looking:
You can now see how the displacement map works. Looking at the alpha channel we created in Step 4, the dark areas cause depressions in the rock and light areas cause ridges. The lighting effect uses this map to figure out where the shadows will fall. |
|
|||||||||||
7If you like what you have already, you can stop here. I'm going to go on a bit further and show how to add a highlight to the surface that gives something of a wet look. It just makes it a little more shiny looking. To begin, click on the Highlights layer we created back in Step 5. Click on the eye icon to make the layer visible. Select Filter->Render->Lighting Effect again. Use the same settings as in Step 6 except increase the Gloss value to about -50. This yields a much more shiny version of the surface as shown below. We'll tone it down in the next step.
8
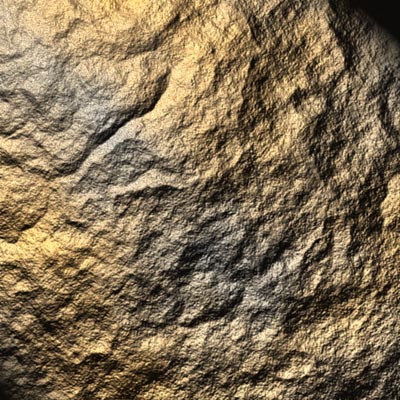
9The layer mask you just created should be highlighted (has a border around it as shown above). If it's not, just click in the white area of the mask icon to select it. Selecting it tells Photoshop we plan to draw in the mask as opposed to the image in the layer. Now choose Filter->Render->Difference Clouds to once again to give us a random pattern in the mask. Hit cmd-F (control-F on Windows) three times to reapply the filter further. This gives a nice random cloudy pattern in the mask. Where ever the mask is black, it causes the pixels in the Highlights layer to become transparent. Shades of gray going towards white cause the pixels to become less and less transparent. The end effect is that this allows just random portions of the highlight layer to show through. This nicely tones down the gloss since the layer mask only lets it show through here and there, and gives us something that looks very nice; not too dry looking and not too wet. It's uncanny how quickly we can create a photorealistic rock texture in Photoshop. Here's the final result:
|
||||||||||||
Thanks for visiting with the Photoshop Dragon.
Copyright © 2007-2010 Curt Schimmel. The contents of this web site may not be copied in any way without permission. Terms of Use and Privacy Policy. |
